Pellet Printing, or FGF, (fused granulate fabrication) has the potential to unlock many new and exciting possibilities for production via additive manufacturing. When compared to conventional desktop 3D printing with filament — the most widely utilized style of 3D printing today — the production level benefits of pellet printing are hard to ignore:
● FGF printers use larger nozzles which reduces print times and tend to have much larger print volumes.
● You can produce production parts and prototypes on a much large scale without seams or need for final part assembly
● The material price for pellets compared to filaments is a fraction of the cost
When you combine this technology with one of the most widely used polymers today — polypropylene (PP), you can unlock endless possibilities. Known for its durability, low density, and chemical resistance, this rigid semi-crystalline thermoplastic is ideal for many automotive, aerospace, marine, and industrial applications. So, now let’s look at a few simple tips on 3D printing with polypropylene pellets
Five Tips for Pellet 3D Printing with Polypropylene
Bed Surface Selection is Critical
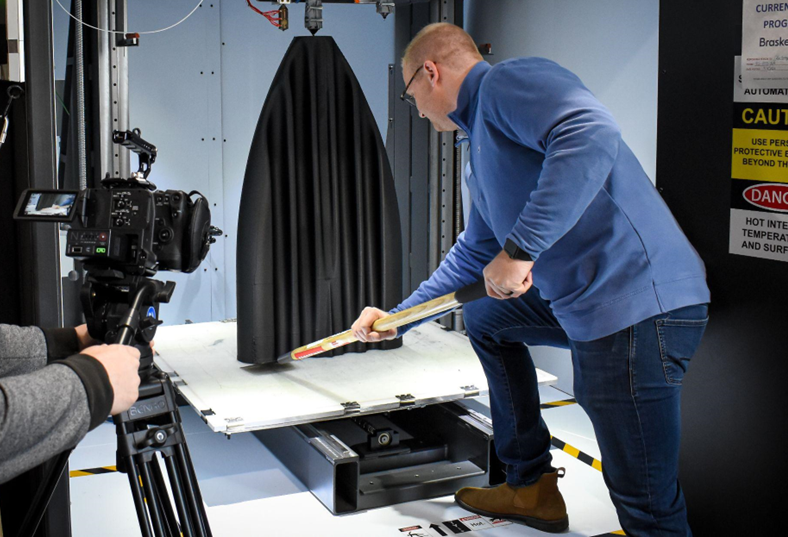
Bed adhesion is essential for the success of any printed part. It’s even more essential with FGF since parts tend to be much larger, increasing the likelihood of more contraction and warping due to cooling. Once the base of a print warps, all other layers are consequently affected, leaving the entire part out of spec. Use a PP sheet (at least 0.25 inches thick) with contact adhesive spray to help prevent complete bonding of the pellets to the PP sheet. With this solution, no bed heating or environmental chamber heating is needed. Make sure to level the build plate at the same temperature you set your bed to when printing. These large print beds expand and contract a lot, pushing them out of level when changing temperatures. A properly leveled bed allows for excellent bed adhesion, while still permitting parts to be removed without any damage.

Bonus tip: use a shingle scraper to help remove large parts, be sure to refer to printers user manual first to ensure this will not harm the print bed.
Print Temperatures aren’t Always What You Think
Printing temperatures are generally lower for pellet 3D printing than filaments. This is primarily because the extruder has a larger heating region, and the screw can generate significantly more pressure than gear feed filament printers. Generally, polypropylene pellets print well at about 210c for the nozzle temperature. Since pellet printing on a large scale deposits way more material (and thus heat), keep an eye on your minimum layer time and minimum print speed. Reduce your print speed if your material seems to sag from being too hot.
Bonus tip: Aim to target depositing on layers that are 120c or cooler (dependent on the shape of the part and print speed).
Cooling is Key
When it comes to pellet 3D printing, cooling makes a massive difference in performance. If you want to print fast, you need high cooling to get the layers cool enough to support the subsequent layers. However, this will reduce the amount of bonding between layers. If print time isn’t an essential variable, it’s recommended to print slowly and with little to no cooling for optimal interlayer adhesion and to minimize sagging.
Bonus tip: Manage your layer times to ensure small layers don't get recoated too fast and eventually sag.
Part Geometries Matter (DFAM)
The shape of a part is especially important when printing at a larger scale with pellets. This is commonly referred to as DFAM (design for additive manufacturing) and must be addressed for any 3D printing process. Three features to consider are overhangs, large solid areas flat on the build plate, and small or sharp features.
-
Overhangs, or outward sloping surfaces, can be a challenge when printing with a large nozzle as they droop if the angle is too steep or if the layer height is too high. While support material can be used with smaller nozzles, at a larger scale it’s more difficult, so try avoiding steep overhangs.
-
Large solid areas flat on the build plate are also a challenge as they’re far more prone to warping than parts with less mass spread across the build plate. This is due to the parts contracting as they cool. The more density, the more contracting on the bed.
-
Take into consideration very small, narrow, or sharp features as the layer time can be so short it doesn’t cool enough before the next layer. This leads to layers that look as if they’d been melted with a heat gun, and that’s not what we want!
Bonus tip: Additional cooling, minimizing overhangs, and radiused edges are a great ways to ensure you are designing for success.
No Need to Dry Polypropylene Pellets
One of the lesser-known advantages of pellet printing with polypropylene is no drying is required. Unlike many other common 3D printing materials, polypropylene isn’t a hygroscopic material (meaning it won’t absorb moisture from the air) and doesn’t need to be dried before or during printing. This also enables for better printed part performance in environments that aren’t climate controlled or conditioned, as the parts won’t absorb moisture over time.
Bonus tip: Use a hardened nozzle for fiber-filled materials to reduce wear and ensure print quality.

Although large format 3D pellet printing has some unique requirements and requires a little bit of know-how, the benefits are clear. This emerging technology can help develop new solutions that save time, material, and money. So, remember, properly prepare your print beds, balance your nozzle temp, optimize cooling, and layer times, design with consideration for larger nozzles, and don’t worry about drying your pellets; and you will be on your way to success with this amazing technology.

